By multiplying your distribution channels you can boost your sales and keep a full list of tickets in your management dashboard.
Here are the steps to follow to import tickets from other vendors without losing a single order.
1. Close your sales
We recommend you set a shared end date for all your resellers a few days before coming off sale on Weezevent. Some resellers cannot be reached at weekends, so be sure to agree the schedule with them beforehand.
2. Retrieve the reseller’s files
Important: To retrieve the files, you will have to access the sales dashboard of your resellers. In the same way as for closing sales, we recommend that you contact your resellers early enough to retrieve your login credentials
The process is specific to each reseller. Click on the links below to read the instructions:
- FNAC (France Billet - Dispobillet)
- Digitick
- Ticketmaster
- Other resellers
3. Uploading files into your Weezevent management interface for sales made through Weezevent
Log in to your Weezevent management interface and go to the Tools menu (top right of your page) > Distributors> Manual import.
Then select the Weezevent event to which you want to import your attendees.
Drag the files you have collected from your distributors into the import area (or use the Browse feature to select them). The files will start uploading automatically.
 If you import a generic file, you will be asked to choose a distribution channel or to create one.
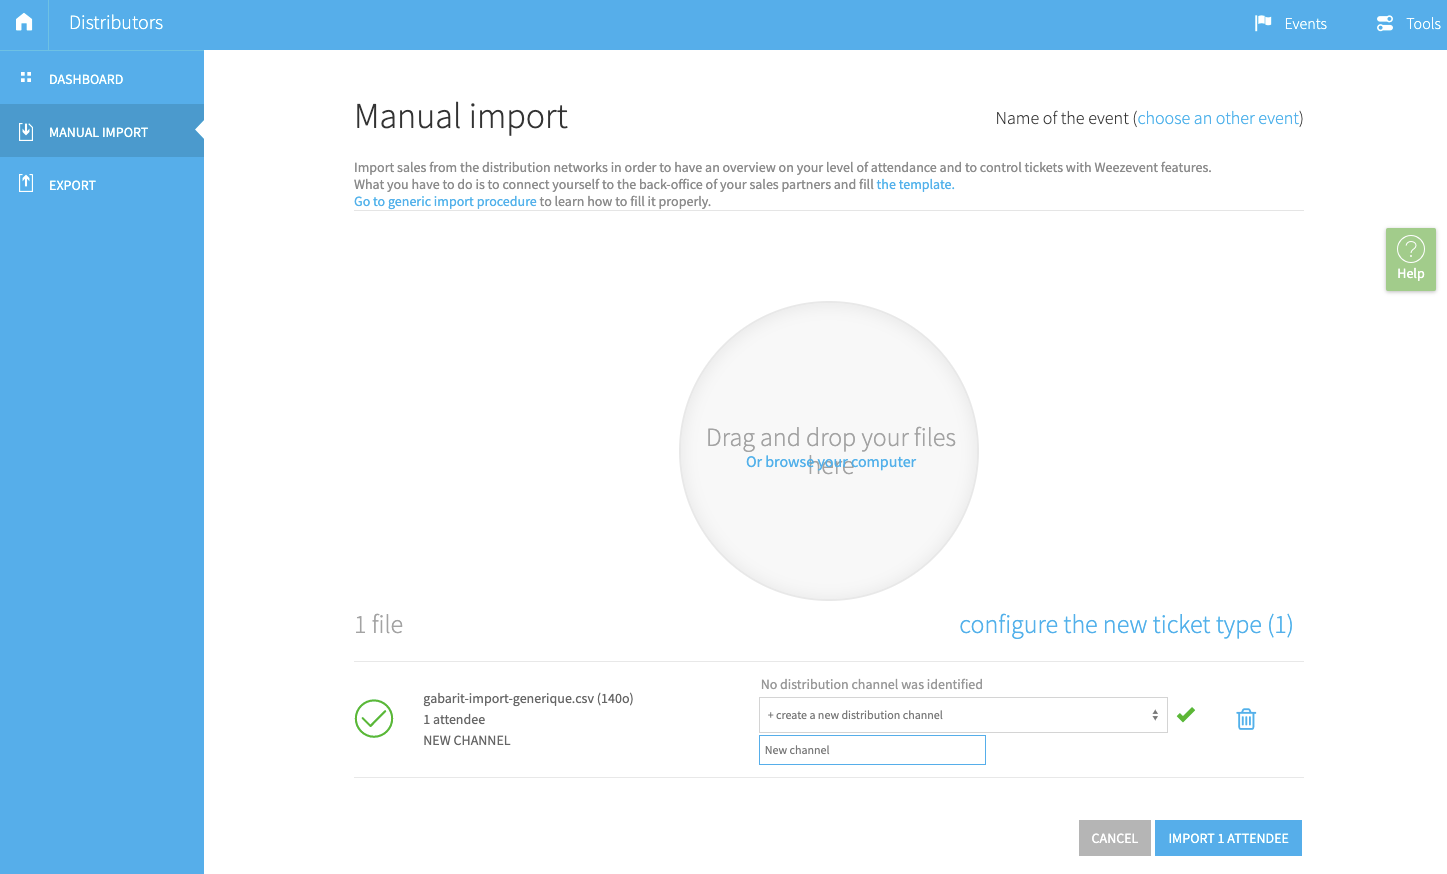
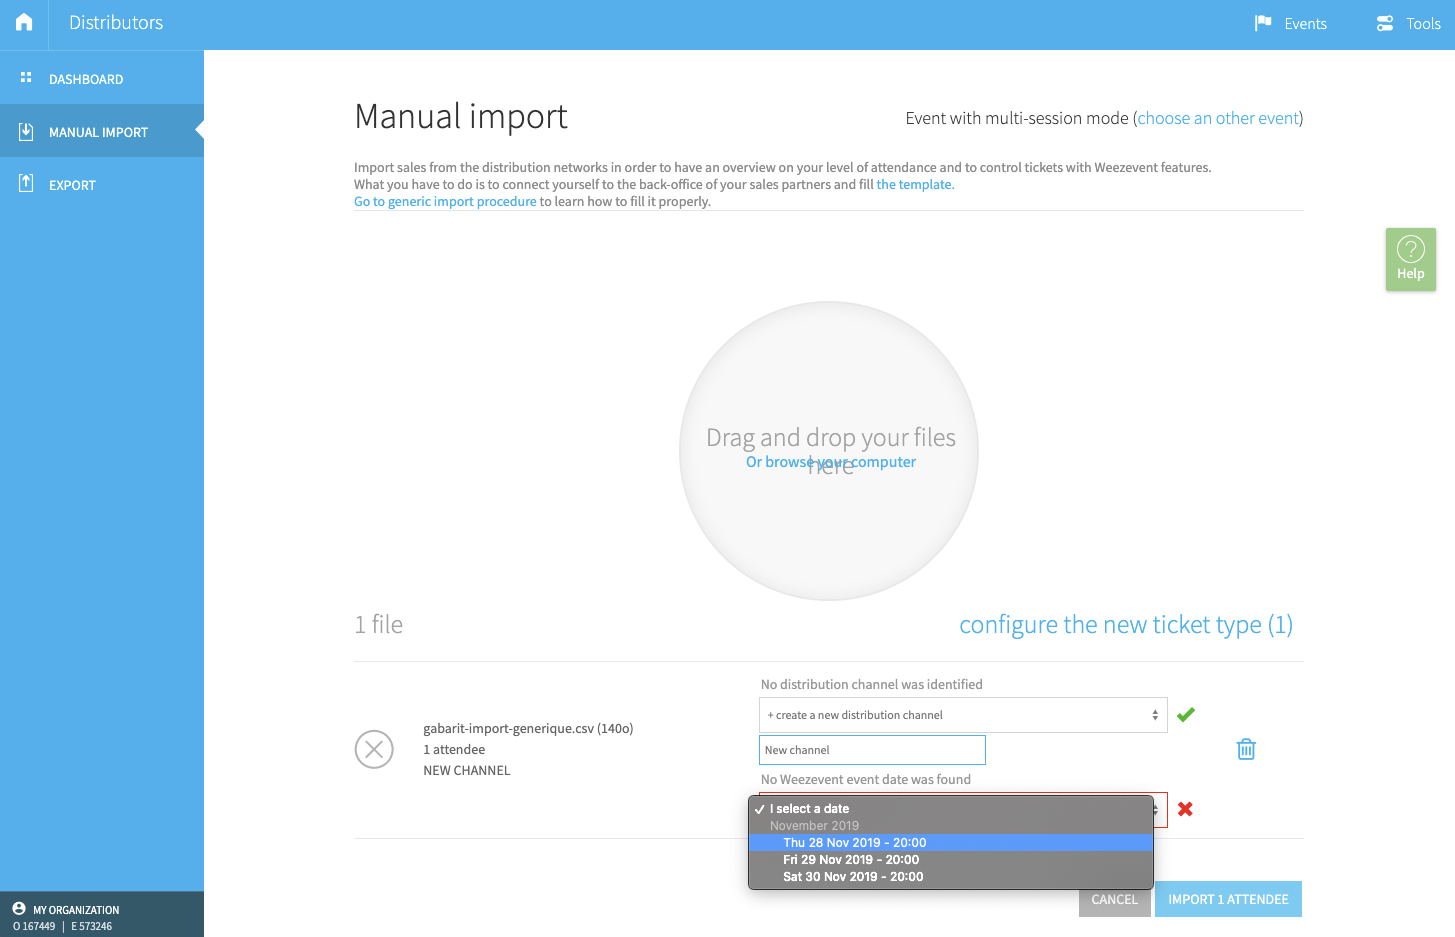
If you import a generic file and the session mode is active on the destination event, then you will be asked to choose the session in which you want to import the attendees.
4. Set-up the imported ticket types (optional)
You can, if you wish, set-up all the new ticket types that have been identified in the files to import. For that : Alternatively, you can reuse an existing ticket type by selecting it from the appropriate drop-down menu.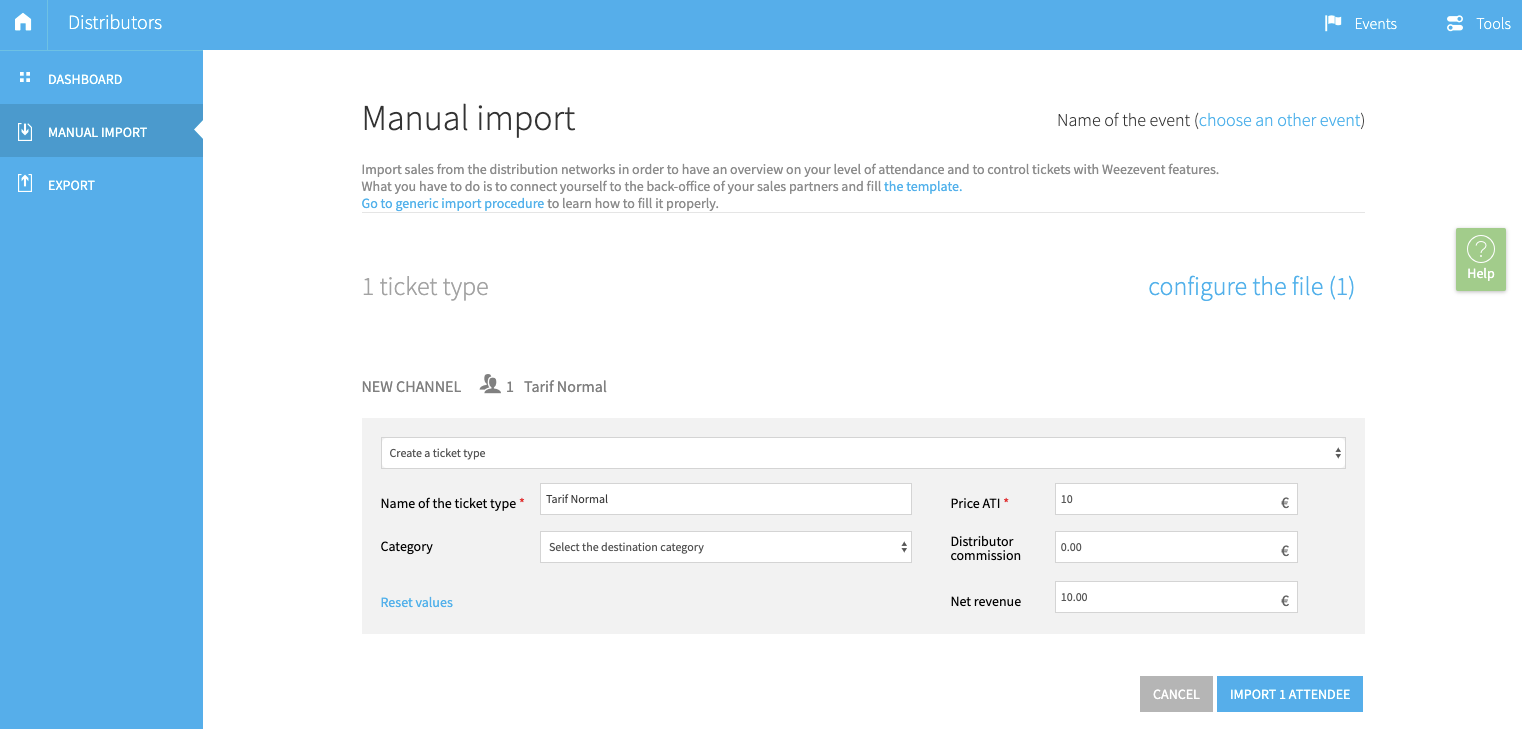
Important: this operation is only for ticket types that have been identified as new. If your files contain existing ticket types for your Weezevent event, then you will not be able to edit them before import.
5. Finalising the import
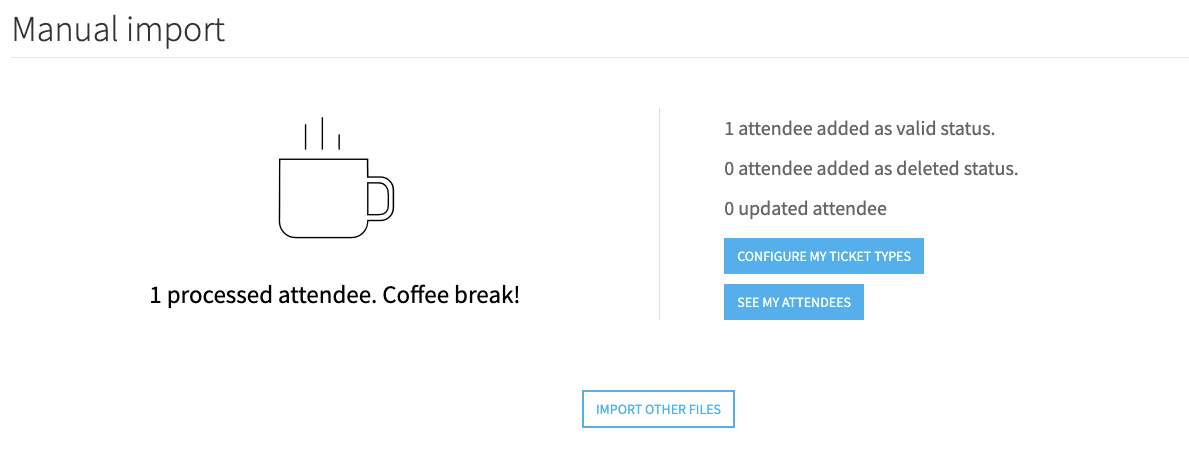
A pop-up lets you know the number of attendees imported and, among them:
- how many have been added in valid status: these are attendees who did not previously exist on your Weezevent event and whose ticket is considered valid by the ticket agent
- how many have been added in deleted status: these are attendees who did not previously exist on your Weezevent event but whose ticket was canceled voluntarily by the ticket agent (following a cancellation, a refund, the issue of a duplicate , etc.).
- how many have been updated: these are attendees who already existed in your Weezevent event. Their contact information may have changed, their ticket type been edited, their status changed from invalid to invalid, or vice versa.
Good to know : a manual import will create one order per attendee, even if these tickets were bought in one order at the ticket agent. This is not a problem since the import is used to control attendees’ tickets afterwards. If you use the import to send tickets to attendees, take into account that an order of 4 tickets will actually create in your interface 4 orders of 1 ticket
6. Check-in your imported tickets
All imported attendees are automatically included in the event or session checklist. If you use custom checklists, don’t forget to activate the new ticket agent ticket types to your checklists from Tools > Access Control > My lists.