1. Allowing reservations
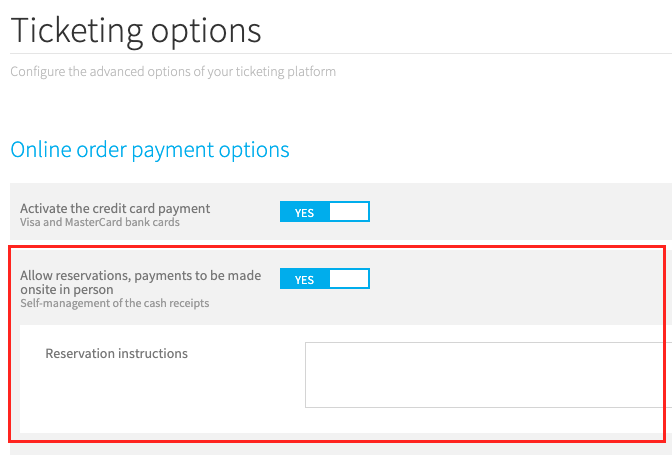
You can allow reservations for your event from Configure > Ticketing Options. When a reservation is issued, payment is not made.
The buyer receives a booking confirmation email containing the instructions you will have previously entered in the online ticketing settings. They specify the payment methods you accept, excluding online payments by card.
2. Managing reservations
2.1 View unpaid tickets
Reserved and unpaid tickets appear greyed in your order management interface.
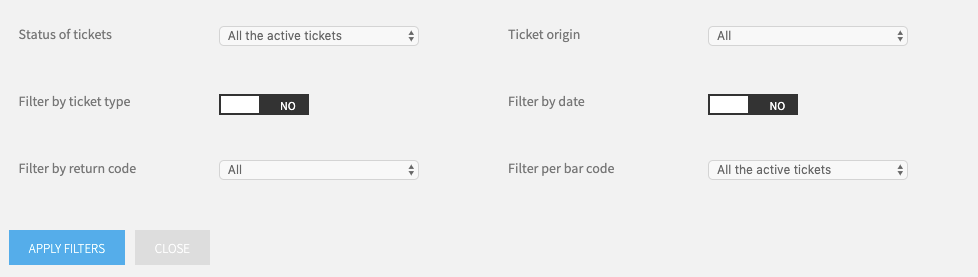
Tip: From Attendees > Manage Attendees, you can click on "+Filter" to display only the unpaid tickets, regardless of the origin of the order (manual entry, online, etc.). Use the Ticket status filter = Reservations and then click on Apply filters.
2.2 Confirming reservations
Reservations appear in your attendee management interface. To confirm a reservation, simply click on the pellet of the "Paid" column which changes from grey to green.
A window pops up, letting you know that the reservation is confirmed and the order is now active. If the buyer's email address has been entered at the time of booking, you can send him/her their ticket by email by clicking on "Send". You can also download it and send the invoice by email.
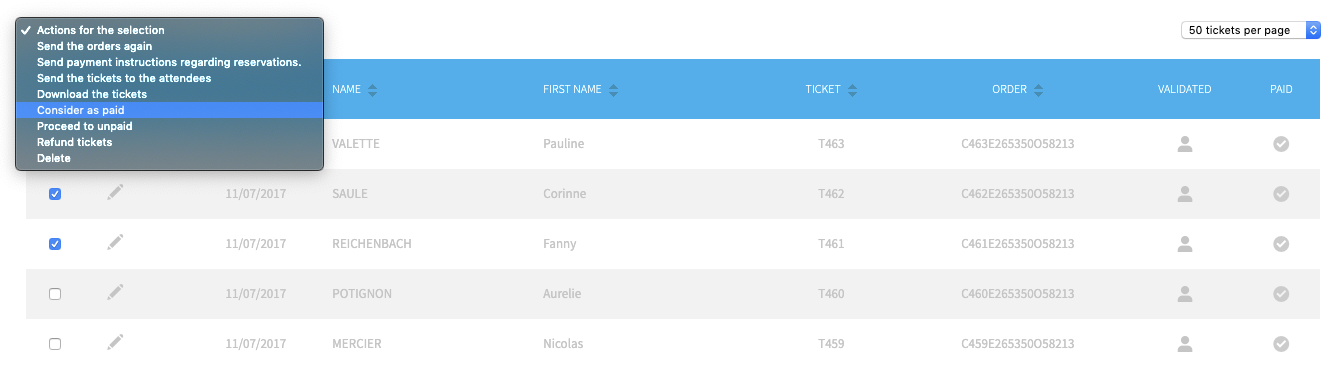
It is also possible to use the checkboxes to the left of each unpaid ticket to select several at the same time.
Then click on the "Select an Action" drop-down menu and choose "Switch to Paid". The window allowing to send an email to the buyer will also pop-up.
3. Sending a payment instruction reminder
Would you like to contact the people who booked to remind them about the ticket payment? Follow this guide!