Creating ticket types and categories depends on each event.
This section allows you to set ticket prices for your ticket sales online and on location as well as your invitations.With categories, you can structure your online sale widget. They can represent different seating areas, a music show, a type of audience, a specific day, etc.
Once connected to your Weezevent management interface, click on the event of your choice to set-up the registration/ticketing module from the menu Configure > Ticket types and selling.
1. Add a price
You can create different prices for your event by clicking on “Add” then “A ticket type".
You can then set up the specifications for each ticket type.
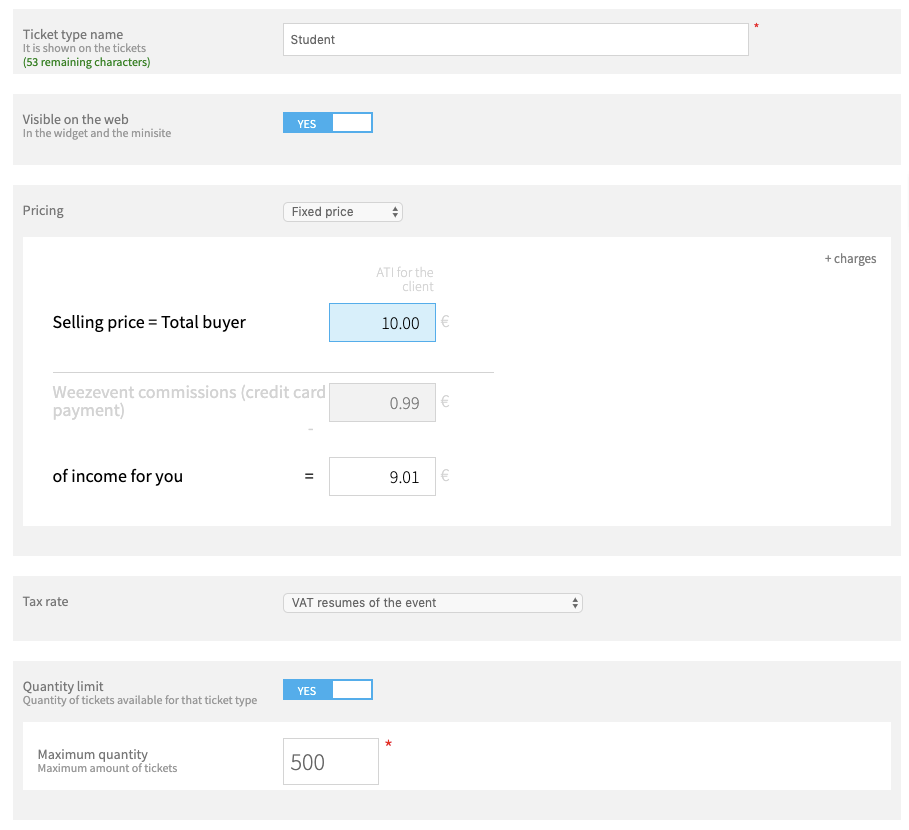
Ticket name
The ticket name will be visible on your ticketing module and on the ticket your participants purchase.
You are limited to 60 characters to allow for optimal display.
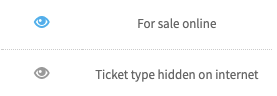
Exposure online
It will activate the sale of your ticket type or, alternatively, hide it from the payment module.
You can edit the exposure of any ticket type at all times from the page Configure > Ticket types and selling by clicking on the eye icon in the relevant row or from the ticket type settings.
Price: free, fixed or pay what you want
- Fixed price: Set the sale price by typing the final price paid by the buyer (including taxes). The amount you will receive after commission and the amount of the commission are displayed just below.
- Free: For your invitations. Weezevent takes no commission because, well, it is free.
- Pay what you want: Useful for donations or when asking for contributions. The buyer types the amount they would like to contribute. It is possible to set a minimum or not, by default it is set at €1 incl. tax. For more info, you can read this post dedicated to setting-up fundraising campaigns.
If you need to add fees to your ticket price, read this article.
VAT rate
Your VAT rate can be set-up for the whole event from Configure > Event details or for each ticket type. By default each ticket type will use the tax rate set-up for the event, however you may need to set a different tax rate based on the service/product that you sell.
Number of available tickets for each type
You can activate this option to set a maximum number of tickets you would like to sell at this rate, all channels included.
If you have tickets in booking only, they will be included in the quota.
Online form
Go to Configure > Forms to link a specific form to a ticket type. This can also be achieved from the form itself.
A ticket type can be linked to a single form only.
Ticket description
It is displayed on the ticketing widget and the participant’s e-ticket. It can also be displayed on the sales widget (Go to Ticketing options > Posting policy of the online ticketing system).
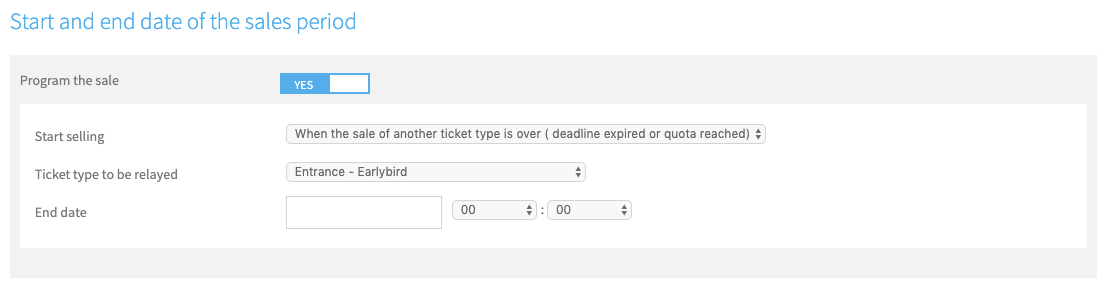
Sales period
For each ticket type, you can set a sale start date:
- By default when the event is posted or at a specific chosen date for the whole event,
- Or at a specific date and time,
- Or when another ticket type is full or its sales period has ended. In that case, the first ticket type will have to be set-up with an end-date or a specific quota for the second type to take over. The second type must be visible online for the relay to happen automatically. This can be useful when you set-up a promotion with a lower price, valid until a specific date or for x amount of tickets. The standard price will then apply once the period is over or the x tickets have been sold.
 Amount per order
Activate this feature to set a minimum and/or a maximum number of tickets purchased per order for that ticket type.
You can also define a pre-selected value.
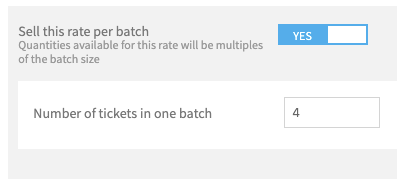
Ticket batch
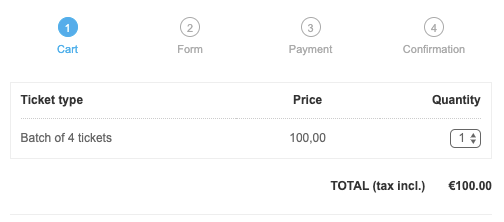
The option “sell this rate per batch” allows you to set-up group offers. For instance, if you would like to set-up a family rate for €100 that can only be purchased for 4 people at the same time.
How does that work?
- You set a price per ticket and not for the batch: in this example it would be €25 per ticket
- You then set the number of tickets per batch: here it is set at 4 per batch, a buyer can therefore choose 1 or more batch(es) of 4 tickets
- Your accounts will indicate 4 tickets at €25 each
 For the buyer it will look like this:
A previous option called “batch rate” allowed to do more or less the same thing, but it was less convenient so we have changed it. If you event still uses the batch rate feature, no worries this still works. But it is no longer possible to create new ones.
Save, edit, delete
Click on “save” to finalise the create of your ticket type. You can edit the settings at any time.
All ticket types are displayed as a table in Configure > ticket types and selling.
For each type, it is possible to:
- Edit the settings by clicking on the star wheel on the right
- Duplicate it
- Delete it if no order has been placed for that ticket type
2. Add a category/sub-category
Add a category
To add a category, click on Add > a category.
Choose a name and, if needed, a quota for the available number of tickets for that category.
Setting up a quota for each category allows to set a quota for several ticket types at once.
This can be useful if you would like to set a quota for a show without setting a maximum per ticket type (e.g. CONCERT 1 has 2 ticket types: STANDARD RATE and DISCOUNTED RATE). That way you don’t have to distribute the number of available seats between these two rates. Regulation will be done automatically and sales will stop when the quota for the category is full.
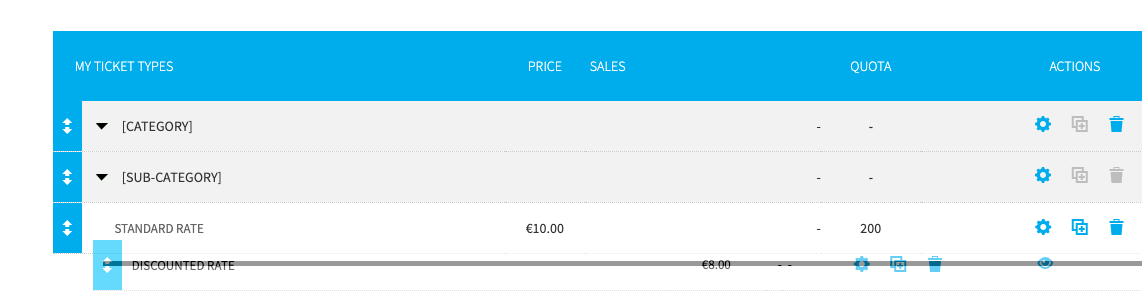
To allocate a ticket type to a category, you just need to click on the arrow on the left of the name and slide it into the category.
Add a sub-category
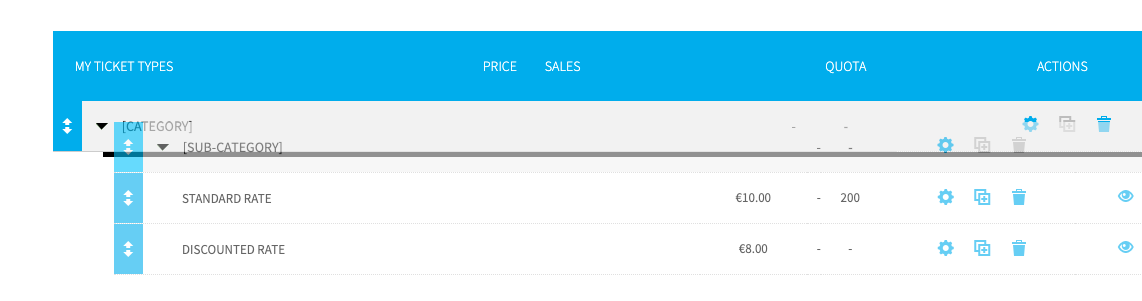
To add a sub-category you must first add a category by following the steps described above. Then click on that new category and slide it into the relevant category. You will need to shift your mouse slightly to the right when you click and slide!
Once the types and categories have been created, you can click on “Preview the module”.
Click on the created category to see the ticket types it contains and check your settings.
You also sell your tickets using retail networks like FNAC, Digitick, and Ticketmaster? Don’t forget to import your network tickets to your event! That way they will be recognised by your access control system.
You will also get an overview of your quotas and ticket sales all channels included.